We have sourced the thickest and denser grasses for the best dollar value. Our prices are cheaper then elsewhere and you get a thicker and denser grass for your money. So come in to our store view, and feel the difference.
Exquisite Synthetic Turf
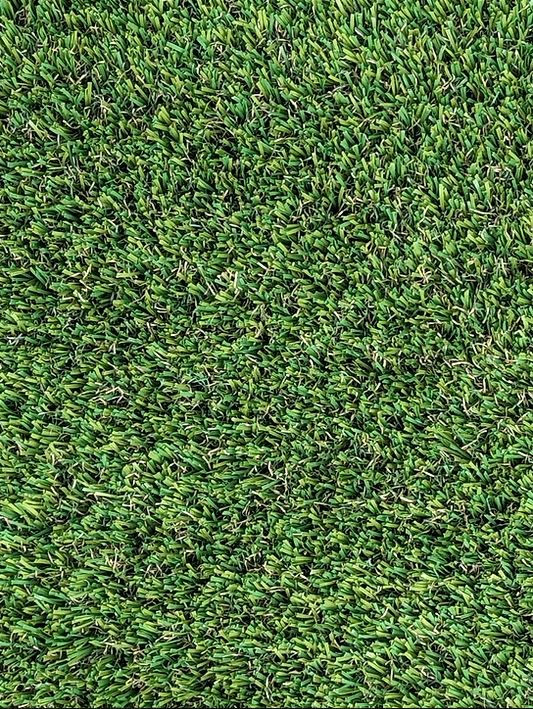
Exquisite Synthetic Turf provides you with a soft, manicured lawn which stays lush and green all year round. Exquisite Synthetic Turf is extremely lifelike and it is difficult to distinguish the difference between natural grass and All Type Flooring’s artificial grass.
Water restrictions are a thing of the past with Exquisite Synthetic Turf. End the stress and worry about watering your lawn and wasted weekends mowing, fertilizing and maintaining the grass. Exquisite Synthetic Turf is child and pet friendly, allergy free and provides a great addition to your garden. It is perfect for use around pools, patios, verandahs and decking.
The synthetic fibres are manufactured with an advanced blend polypropylene to present you with a soft, durable and realistic looking grass. Best of all, All Type Flooring’s Exquisite Synthetic Turf looks sensational!
Various roll sizes available. Please confirm before ordering.
Step 1 – Landscaping and Excavation of your existing lawn
After marking out the area for your Exquisite Synthetic Turf, remove the existing dirt, grass, rocks and soil to a depth of between 75mm and 100mm. In many cases, hand tools are fine for this, but invariably there will be large rocks, hard clay (or worse) below the surface, which will require a bobcat, backhoe or similar excavator to get the job done properly (tip: prior to hiring a bobcat, be sure to measure the width of access areas to your yard.) For an average size synthetic lawn, expect landscaping and excavation to take a full day or even a weekend (depending on weather and the number of assistants you have).
Tip: don’t forget to pre-hire a bin to dispose of the excavated grass and rocks. Also ensure you don’t need any special council permission to place the bin in your front yard.
Step 2 – Install the base
Once the area is excavated, and your lawn borders are installed (brick, timber, tile, etc), give the area a gentle compacting to settle the existing soil. Next, fill with either crushed rock (e.g. road base), topped with cracker dust . Aim for a depth of 10mm throughout. Ensure the finished area is smooth. If the base contains craters or dips, then your synthetic lawn will have dips as well. Also, ensure that you have accounted for natural drainage and run-off. A synthetic lawn will absorb a certain amount of rainfall, but heavy rains will flow off the synthetic surface.
Tip: when ordering your crushed rock and cracker dust, be aware that when delivered, the piles of rock will require a significant amount of space in your front or back yard. In many cases, the delivery truck will not be able to dump the rock near your work area, so be prepared to move the tons of rock by hand or wheelbarrow.
Next, wet and compact the area twice. For successful compacting, hire a plate compactor (a hand-compacted area will not “settle” properly below your synthetic surface, leading to more craters and dips below your lawn).
Step 3 – Install your synthetic grass
Synthetic grass or turf is usually delivered in rolls or wide sections. Unlike indoor carpeting, these rolls will have a “grain”, where the synthetic grass fibres are aligned in a single direction. It’s important to lay out the full sheets of synthetic grass so the grain is all running in the same direction. Batch codes and colour dyes can vary between rolls and it is the installer's responsibility to check all synthetic turf prior to cutting and usage. Once the grass is laid out, give it some time in the sun to settle – perhaps an hour or more. Next, cut the material to the desired size and shape. Depending on the synthetic material, this can likely be done with a Stanley knife or similar cutting tool.
Invariably, there will be seams (or “joins”) where the grass sections meet. This is where things get a bit tricky. You’ll need to ensure that the seams are cut, taped and glued precisely to ensure that they are completely unnoticeable. Improper joining will result in an unsightly seam running down the length of your synthetic lawn. Ensure that no grass fibres are glued to the seam, and that the seams are all smooth and even.
Step 4 – Filling with sand
Fill the synthetic grass surface with a fine, kiln-dried sand (available from either the synthetic grass supplier, or from a quarry/supplier). The sand fills the gaps between the synthetic grass fibres and ensures that the grass sits up properly. Aim for a depth of about 50% of the height of the grass fibres. Once filled, brush the entire surface with a power broom until the sand is evenly distributed.
Step 5 – Fill with rubber
Cover the sand with a granulated rubber product (available from your synthetic grass supplier). This ensures that the white sand is hidden, and also gives your synthetic grass surface a bit of bounce.
Do not install grass next to glass fencing or any reflective objects (as this will void warranty)
Bore water may discolour the synthetic turf due to the naturally occurring chemicals and micro-organisms. It is strongly recommended that synthetic turf is not installed in proximity to garden areas which use bore water, as the stainage which may occur is not covered under warranty.